S-Cracks Explained: How Beginners Can Prevent Bottom Cracks
So you pull your piece out of the kiln. Looks good from the top. Flip it over. And there it is—a nasty little S-crack grinning up at you like a bad joke. That’s the classic s-cracks nightmare every potter meets sooner or later. It’s not just a surface scratch. It’s a structural failure that splits the base right open, usually starting from the center and branching out in that signature curve. For beginners, it feels like a mystery. You wedged. You compressed. You thought you did everything right. But bottom cracks pottery issues don’t care about your good intentions. They happen when clay particles separate during drying or firing, creating tension the material can’t handle. The good news? Most of the time, this is entirely preventable. You just need to know where the clay is lying to you.
Clay Prep Is Where It All Starts (Or Falls Apart)
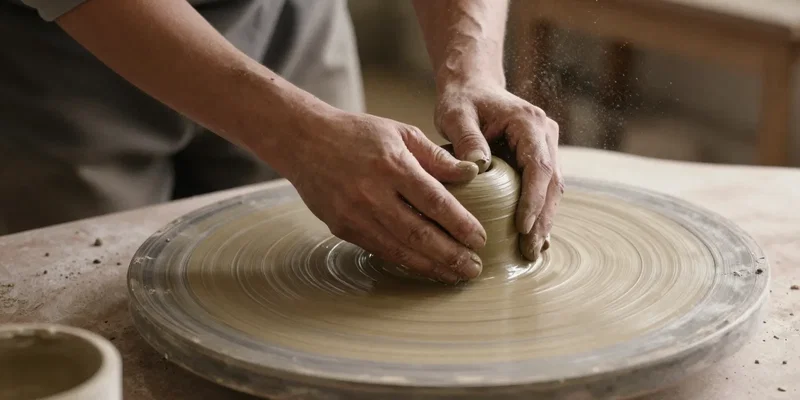
Here’s the thing. If your clay isn’t prepped right, nothing else matters. Fresh from the bag, clay can have air pockets, uneven moisture, or stressed particles from the factory extrusion. Wedging isn’t just a warm-up exercise. It homogenizes the body, aligns the platelets, and evens out the water content. Skip it, and you’re rolling the dice. Reclaimed clay is even worse for beginner clay issues. It’s got hidden dry spots, soggy centers, and trapped air that will absolutely come back to bite you. When I reclaim, I slap that stuff through a pug mill or wedge it until my arms scream. Then I let it sit wrapped up for a day or two. Impatience kills pots. Wet, uneven clay shrinks at different rates, and that differential is exactly what pulls the bottom apart. If you want to prevent pottery cracks, start before you even touch the wheel.
The Wheel Is Not a Shortcut
You slam the clay down. You center it fast. You open it up, pull some walls, and call it a day. Big mistake. The base of your pot is carrying the entire load, and if you don’t treat it right, it’s going to fail. After opening, you need to compress that bottom with a rib or your fingertips. Seriously. Spend thirty seconds pushing the clay outward from the center to the walls. It eliminates stretch marks and seals up micro-fissures. Most s-cracks start because the base was left under-compressed and full of invisible faults. Another rookie move? Throwing the base too thin. I get it. You want it light and elegant. But a paper-thin bottom has zero structural integrity. It warps, it stresses, and it cracks under the pressure of its own weight. Give your base some meat. A quarter-inch minimum for functional ware. Your future self will thank you when the kiln gods are kind.
Drying Is a Trap You Walk Into Blindly
Okay, the piece is thrown. You’re proud of it. You want it dry yesterday. So you set it near a fan, a sunny window, or a heater. Congratulations, you just guaranteed bottom cracks pottery problems. Uneven drying is the silent killer. The rim dries first because it’s thin and exposed. The base stays wet and heavy. The clay shrinks at the top while the bottom stays put. Something has to give, and it’s always the base. I dry my work under plastic for the first day or two. I flip pieces regularly so air hits both sides. And I never, ever rush the process. Greenware needs to reach bone-dry slowly and uniformly. If one area is leather-hard and another is still plastic, you’re in the danger zone. Patience here isn’t a virtue. It’s a survival skill.
Firing Too Fast Is Like Driving Into a Wall
Even if you did everything right so far, the kiln can still betray you. Cramming the schedule or firing too hot too fast creates thermal shock. The clay body and the kiln atmosphere need time to equalize. Moisture turns to steam. If that steam can’t escape gradually, pressure builds up at the base where it’s thickest. Boom. Crack. I always candle my kiln overnight on low heat before ramping up. It’s boring. It takes forever. But it lets every last drop of physical water evaporate. Also, watch your glaze fit. A glaze that shrinks more than the clay body will pull the base apart during cooling. Test your clays and glazes together. Document what works. Prevent pottery cracks by treating firing as a science, not a gamble.
Fix Your Habits, Fix Your Pots
At the end of the day, s-cracks are almost always user error. Harsh, but true. They’re the result of skipped steps, rushed timelines, and ignored fundamentals. Beginner clay issues like this don’t require fancy tools or expensive fixes. They require discipline. Wedge your clay. Compress your bases. Dry slowly. Fire gently. It’s not complicated. It’s just easy to forget when you’re excited to make something beautiful. So slow down. Pay attention to the bottom as much as the rim. Because a pot with a cracked base isn’t a pot at all. It’s just landfill.